One of the hardest parts of moving into a new or new build house these days is the sheer quantity of inspirational pictures available to dissatisfy even the most excited home owner. Taking a step back, though, it's good to have to wait, and earn, and dream.
I wanted a fireplace to be immediately set in our house, to the point where I very nearly pulled the trigger on having one of the house contractors build out a generic mantel for us just so that we could have one done. At another point, someone suggested that we use the same stone from our exterior to build a 2-story stone fireplace and I thought-- yes! that makes sense!-- even though something else in me kept me questioning if it was the right plan. Luckily, my doubt and Nate's steadfast insistence that he build out the fireplace surround kept us from making a hasty choice, and a few months later I came across a picture that I immediately loved. Now, after a few months of tweaking, our fireplace surround is 80 percent complete and we couldn't be happier with our choices.
All that to say (100 degree summer that would have killed a new lawn aside so yay for waiting until fall for that!), there is a benefit to the time and budget-dictated delay in creating our outdoors spaces. While we'll be spreading topsoil (so. so. so. much topsoil) and grass seed shortly, we're planning our first outdoors construction projects for next spring/ summer so that we can save towards them over the winter.
Our property is skewed such that our front yard is really where we have both the best view and the space for outdoors living-- so how to we make this work best?!
Do we put a patio directly in front of the house?
Do we wrap it around to the side and create an outdoors room or screened-in porch?
Where do we plant our garden-- at the edge of our property?
Where will we contruct the workshop?
Which project comes first-- the patio or the deck?
And what do we plant in the beds around the house?

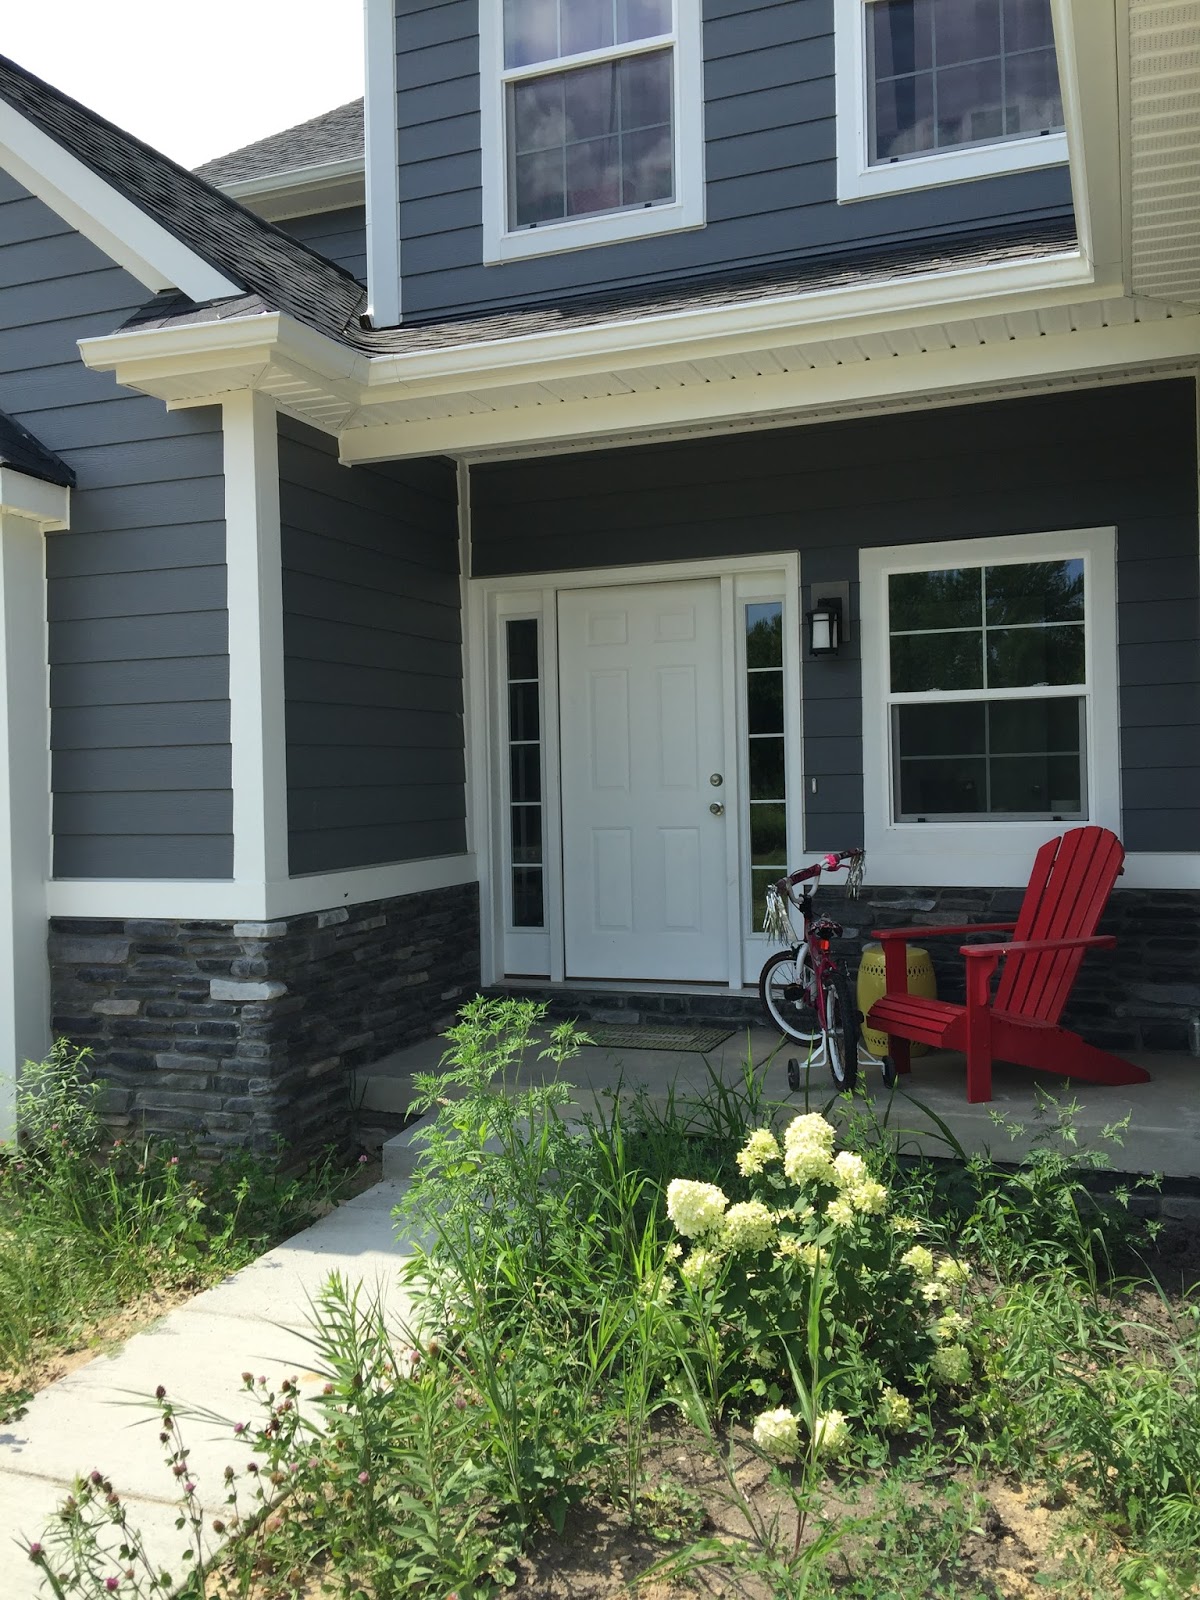


(And this, by the way, is the view)

Pretty darn spectacular. So what do we do?!