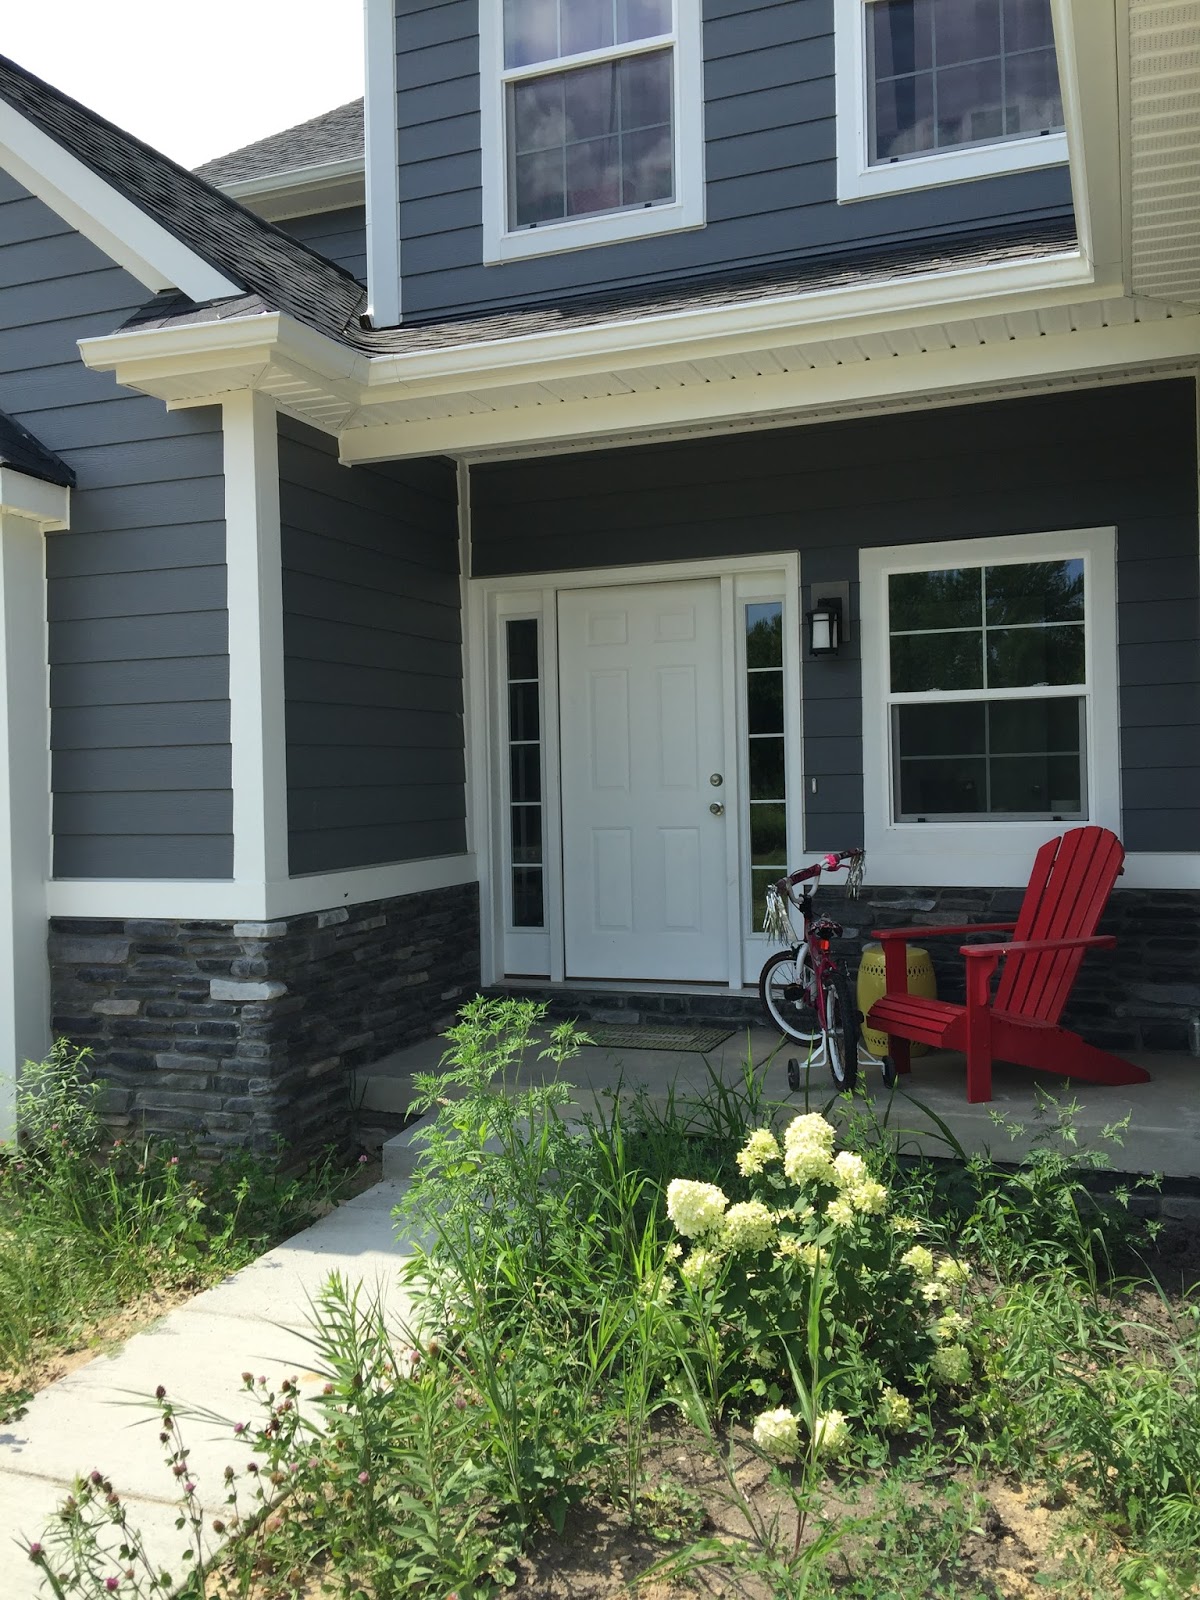
After three months in our new home, we finally moved our beam to our driveway, where it then sat for a few weeks. But-- but!-- once our motivation set in, things moved quickly. Though our style mostly trends more streamlined, the laws of 1850s barn beams dictate that you appreciate them in (most of) their imperfect, dilapidated glory. So after a power wash and just enough sanding to remove flaking outer layers, we mixed a dark and a natural stain and gave the beam just two coats so that the details in the wood shine.
Then we waited for a willing soul to stop by and lend some brute strength to the task of bringing this baby into the house. Nate's an engineer, so he ran equations and thought and re-thought the hanging process until he was satisfied that nothing could pull this mantel from the wall.
It was, however, too heavy for even these two strong men to lift from floor to the spot where it would be adhered to the wall, so we devised a levy system out of stools and step ladders.
Success at last!
And when you go to all this effort to customize your fireplace, you take an awkward family photo in front of it to commemorate all of the f-bombs and harried child redirection that went into the job.
Adding the remaining pieces to frame out the rest of the surround was comparatively nothing.
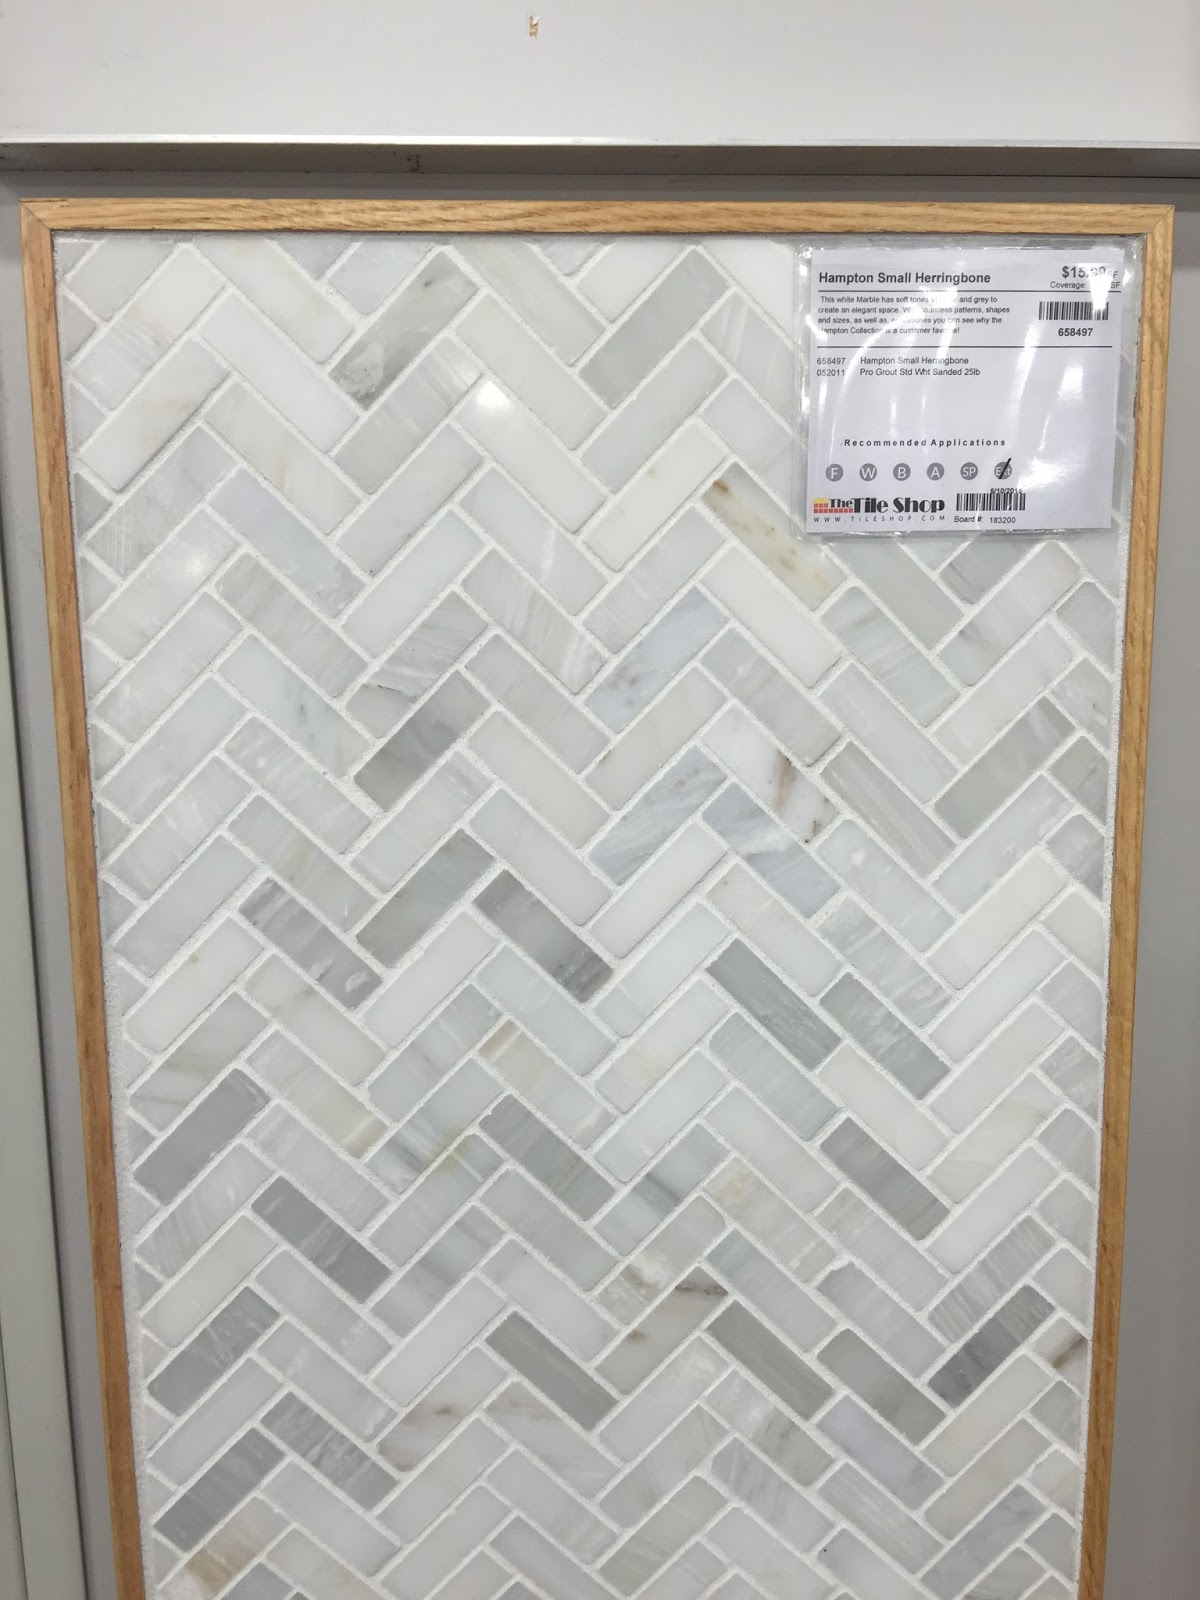
Our pretty marble tile arrived. I love that we got such varied marbling in our tiles. Though there's lots of white and gray, there's also a little tan and even purplish tones, and it takes on a sparkling appearance in the evening that is so so pretty. More on the pain-in-the-ass process of herringbone tile manipulation to come.
To be completely clear, these first two pieces of drywall are actually pieces #3 and 4, because it took Nate and I two mega fail moments where we almost had a piece of drywall placed and then it tumbled over backwards and epically smashed on the floor for us to figure out that we needed a different methodology.
See that extension pole on a broom to the left of the fireplace in the photo below? That along with some strategically pre-placed nails for balance was our saving grace, because Nate could take breaks to rest the drywall at intervals on his way up to the ceiling while I pressed the tops of the sheets against the frame with the flat broom to keep them steady while they got screwed in.
We are so lucky that aside from a few ankle cuts from where the drywall bounced off Nate on its way down the second time, and a few spots of adhesive on our rug, we otherwise escaped unscathed. This is a "do not try this at home" lesson for all. There's a reason why people use professionals for projects such as this one.
After the drywall went up, so did the trim. We intentionally sized our fireplace to minimize drywall cuts, and then the trim ended up covering most of the seams. Score! We tiled before we drywalled the lower section so that we had a better idea of how we needed to trim it out. Again, more on that later.
And though we've managed to get her primed, the autumn and then winter holidays showed up, and I decided that I wanted to decorate my unfinished mantel more than I wanted to finish painting it. So there it remains until after the new year, where it may continue to haunt us for another few months before one of us sucks it up and gets it done.
Nevertheless, we've come a long way.